Unit 09: Applications II Protein SAXS and simulation data
Contents
Unit 09: Applications II Protein SAXS and simulation data#

Authors:
Dr Antonia Mey
Jasmin Güven
Email: antonia.mey@ed.ac.uk
Thanks to: Dr Rafal Szabla
Learning objectives#
By the end of this unit, you should be able to
Read and manipulate’real’ data files and troubleshoot them.
Understand hidden characters in files.
Estimate error bars and plot them from absorbance data.
Analyse UV-Vis data using Beer-Lambert’s law.
Load protein trajectory data from a simulation.
Compute running averages over trajectories (dataseries).
Table of Contents#
Application 2: Protein crystallography and simulations#
Working with protein crystals and molecular simulations
1.1 PDB files
1.2 Measuring properties from crystal structures
1.3 What are molecular dynamics simulation?Excursion into thermodynamics or how to check the equilibration of a simulation
2.1 Tasks 4Assessing the stability of a protein in a simulation
3.1 Tasks 5
Jupyter Cheat Sheet
To run the currently highlighted cell and move focus to the next cell, hold ⇧ Shift and press ⏎ Enter;
To run the currently highlighted cell and keep focus in the same cell, hold ⇧ Ctrl and press ⏎ Enter;
To get help for a specific function, place the cursor within the function’s brackets, hold ⇧ Shift, and press ⇥ Tab;
Import libraries#
import glob
import numpy as np
import pandas as pd
import matplotlib.pyplot as plt
1. Working with protein crystals and molecular simulations#
Proteins are polymers that are made up of 20 different amino acids. It is possible to crystalise proteins and then use X-rays to probe their structure.
All structural data of proteins are collected in the protein data bank (PDB). With over 180000 protein structures available. 3D structure data is invaluable for applications in many different areas of chemistry, as proteins underpin most vital functions in living organisms as natural catalysts.
1.1 PDB files #
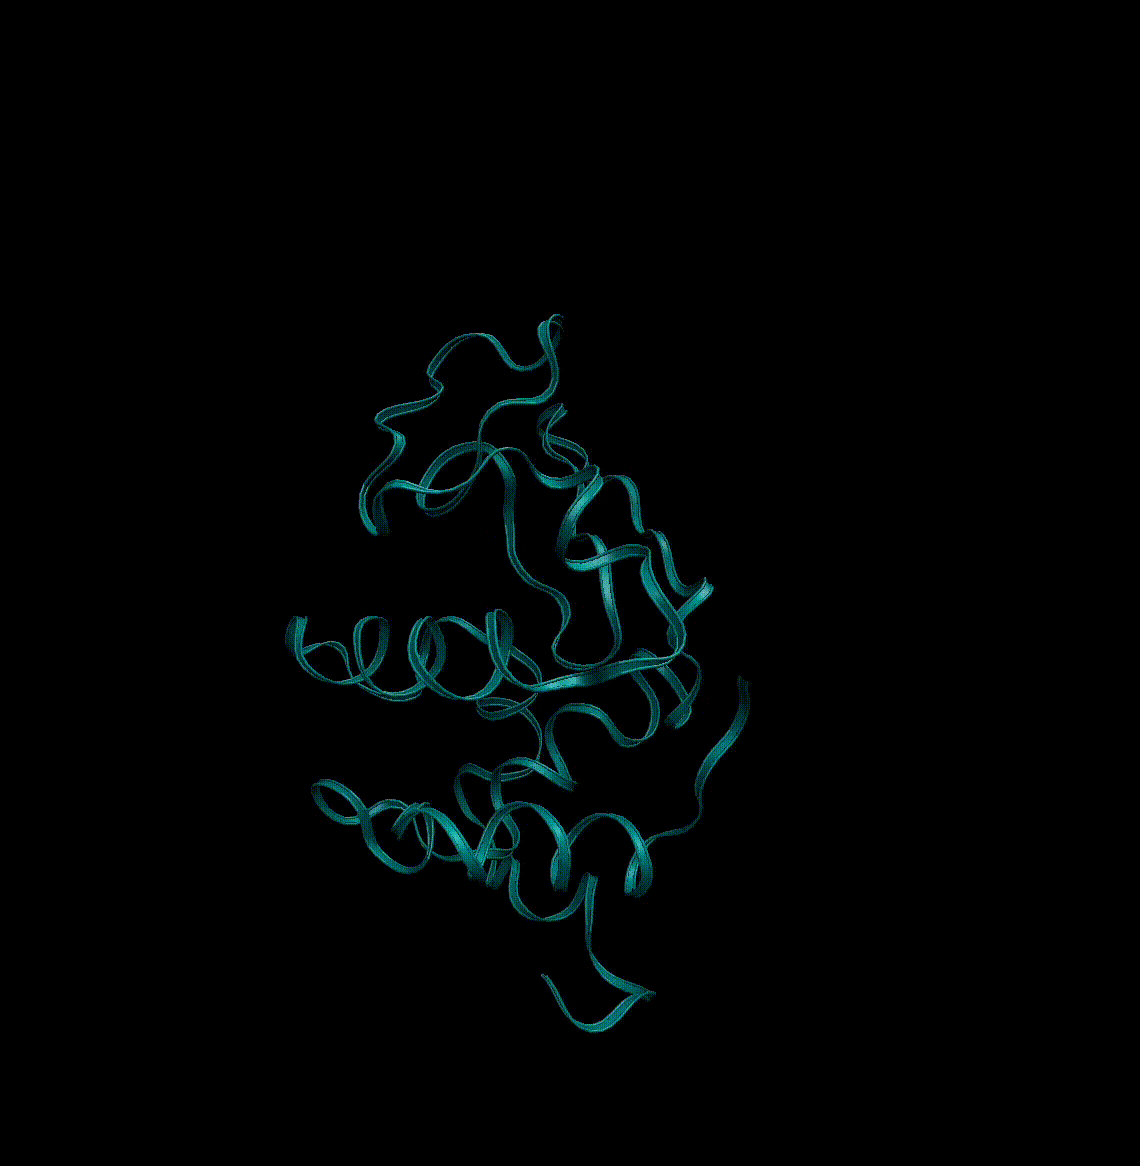
To store information about proteins a fileformat called pdb was invented. It stores the names of the atoms in the protein, as well as the 3D coordinates that were determined from the crystal structure. Don’t worry you will not need to interact much with these files. In Jupyter we can visualise protein structures from pdb files in different ways. In the following we will use py3Dmol.
Run the code cell below to see the first 20 lines of a pdb file:
!head -n 20 data/Section4/1aki.pdb
As part of her final year project Rachel has been looking at the hen egg white lysozyme protein. She has been investigating the structure of it and has also run simulations to look at its stability over time. But she needs some help with analysing the simulations and understanding the data.
Let’s start by visualising the protein in the notebook:
# Install py3Dmol
!pip install py3Dmol
import py3Dmol
# This line will grab the pdb file from the data bank
view = py3Dmol.view(query="pdb:1aki")
view.setStyle({"cartoon":{"color":"spectrum"}})
view.show()
1.2 Measuring properties from crystal structures #
It is possible to measure different properties from the X-ray structure data, such as bond lengths, angles, etc. You will try some of this as part of the assessment.
1.3 What are molecular dynamics simulations? #
Molecular dynamics (MD) simulations are a way to understand how proteins behave inside cells, by using a computer to model this behaviour. Cells are crowded environments full of proteins and water.
Take a look at this movie of a simulation of a bacterial cell.
In a molecular dynamics (MD) simulation we model atoms and bonds like balls and springs and generate so called trajectories over time using Newton’s Laws of motion.
Newton’s second law is given by:
where \(\mathbf{F}\) is the force on each atom \(i\) and \(\mathbf{r}_i\) is the position of atom \(i\). The above equation is solved at every time step over a number of time steps, to calculate the position and velocity of each atom.
To get started with an MD simulation you need some initial coordinates for a protein. These are often taken from the protein data bank.
Here you see an example of a short trajectory of a single protein: lysozyme.
2. Excursion into thermodynamics or how to check the equilibration of a simulation#
Molecular simulations are often run in similar conditions that mimic a lab environment, namely at constant temperature, constant pressure, and constant number of particles (NPT). To achieve this, the simulation needs to get a chance to equilibrate and some clever algorithmic tricks need to be done to achieve \(N\) i.e. number of particles, \(T\) temperature, and \(p\) pressure to be constant.
This can be done with pressure and temperature equilibrations. If you want to know more about the algorithms used in these equilibrations, see https://ftp.gromacs.org/pub/manual/manual-5.0.4.pdf.
The temperature equilibration step is called NVT, because the number of atoms \(N\), volume \(V\) and temperature \(T\) are kept constant. Similarly, the pressure equilibration step is called NPT.
We will also plot the running average to see the equilibration better. The running average, denoted SMA for Simple Moving Average, is defined as
where \(p\) is a data point, \(k\) is the window and \(n\) is the total number of data points.
Tasks 4 #
The time is in picoseconds (ps) and the data is collected for 100 ps. The temperature is in Kelvin.
Load in a file called
temperature.txtfrom the folderdata/Section5. You can take a look at the file in the folder to see what character is used as the separator.Plot the temperature against time.
Add axis correct axis labels.
# FIXME
Click here to see the solution to Task 4.1
# Load data in
NVT = pd.read_csv("data/Section5/temperature.txt", sep = "\t")

# Get time and temperature in lists
time = NVT["t"].tolist()
temperature = NVT["T"].tolist()


# Plot
fig, ax = plt.subplots()
ax.plot(time,temperature, color = "black")
ax.set_xlabel("Time (ps)")
ax.set_ylabel("Temperature (K)")
plt.show()
Define a function SMA() that takes in a list of data, total number of data points and the size of the window. Calculate the cumulative sum and from this calculate the running average, and return it.
Take a look at the draft Rachel has made, can you fix the function so that it will work? It is easiest to debug problems with the function if you try and plot the output with the data you are trying to compute the running average for.
You could also check visually if this is similar to the running average function you can find in pandas.
# FIXME
def SMA(data, n, window):
    '''
    Function to calculate the simple moving average.

    Parameters
    ----------
    data: list
        list of data
    n: int
        total number of data points

    window: int
        size of the running average window
    '''

    S_i = 0
    cumulative_sum = []
    for i in range(n):
        cumulative_sum.append(S_i)
        S_i = S_i + data[i]
    cumulative_sum = np.array(cumulative_sum)
    running_avg = cumulative_sum / float(window)
    return running_avge
Click here to see the solution to Task 4.2
# Example solution

def SMA(data, n, window):
    """
    Function to calculate the simple moving average.

    Parameters
    ----------
    data: list
        list of data
    n: int
        total number of data points

    window: int
        size of the running average window
    """

    S_i = 0
    cumulative_sum = []
    for i in range(n):
        S_i = S_i + data[i]
        cumulative_sum.append(S_i)
    cumulative_sum = np.array(cumulative_sum)
    running_avg = (cumulative_sum[window:] - cumulative_sum[:-window]) / float(window)
    return running_avg
10-ps average for NVT
Plot the temperature data in black, with label
"Data"Plot the 10-ps running average for temperature in red, with label
"10-ps average"Define axis labels and add a legend.
Do you think the simulation has equilibrated?
# FIXME

ax.plot(time,temperature, color = "black")
Click here to see the solution to Task 4.3
fig, ax = plt.subplots()
ax.plot(time, temperature, color = "black")
ax.set_xlabel("Time (ps)")
ax.set_ylabel("Temperature (K)")
n_T = len(temperature)
T_SMA = SMA(temperature, n_T, 10)
ax.plot(time[10:],T_SMA, color = "red", label = "10-ps running avg.")
ax.plot(time,temperature, color = "black", label = "Data")

ax.legend(loc="upper right")
plt.show()
The time is in picoseconds (ps) and the data is collected for 100 ps. The density is in kg m\(^{-3}\).
Load in a file called
density.txtfrom the folderdata. You can take a look at the file in the folder to see what character is used as the separator.Plot the density against time.
Plot the SMA of density in red.
Add correct axis labels and a legend.
# FIXME
Click here to see the solution to Task 4.4 (advanced)
# Load data in
density_data = pd.read_csv("data/Section5/density.txt", sep = "\t")

time = density_data["t"].tolist()
density = density_data["rho"].tolist()

n_rho = len(density)


fig = plt.figure()
ax = fig.add_subplot()
ax.plot(time,density, color = "black")
ax.set_xlabel("Time (ps)")
ax.set_ylabel("Density (kg m$^{-3}$)")
rho_SMA = SMA(density,n_rho,10)
ax.plot(time[10:],rho_SMA, color = "red", label = "10 ps running avg.")
ax.plot(time,density, color = "black", label = "Data")
ax.legend(loc = "lower right")
plt.show()
3. Assessing the stability of a protein in a simulation #
In this part we will consider the root-mean-square deviation (RMSD) and the radius of gyration of the protein during the simulation. These two quantities are useful to judge if the protein maintains it shape, i.e. if the simulation is stable or the protein breaks apart.
The root-mean square deviation is given by
where \(v_i\) is the position of a reference structure and \(w_i\) is the structure we’re interested in.
The radius of gyration is a measure of the compactness of a protein, and is given by
Tasks 5 #
The radius of gyration data is given in the file data/Section6/gyrate.txt. The time is in picoseconds (ps) and the radius of gyration values are given in nanometers (nm).
Load the file gyrate.txt in.
Plot the radius of gyration.
Add axis labels.
# FIXME
Click here to see the solution to Task 5.1
Rg_data = pd.read_csv("data/Section6/gyrate.txt", sep = "\t")

time = Rg_data["t"].tolist()
Rg = Rg_data["Rg"].tolist()

fig = plt.figure()
ax = fig.add_subplot()
ax.plot(time, Rg, color = "k")
ax.set_xlabel("Time (ps)")
ax.set_ylabel("R$_\mathrm{g}$ (nm)")
We can calculate the average from the \(R_\mathrm{g}\) data and use the standard deviation as an estimate of the error on the mean value.
Code this in the cell below and output the values nicely.
# FIXME
Click here to see the solution to Task 5.2
mean_Rg = np.mean(Rg)
std_Rg = np.std(Rg)

print(f"Radius of gyration: ({mean_Rg:.2f} +/- {std_Rg:.2f}) nm")
As with the above equilibration plots, we want to see if the RMSD plot levels off.
To plot the RMSD plots, we have to load in two files: RMSD.txt and RMSD-xtal.txt (both are found in data/Section6), where the former is the simulated structure and the latter is the crystal structure.
The RMSD is measured in nanometers (nm) and time is now in nanoseconds (ns).
Load the files in.
Plot both RMSD and RMSD_xtal in the same plot.
Add axis labels and a legend.
# FIXME
Click here to see the solution to Task 5.3
RMSD_data = pd.read_csv('data/Section6/rmsd.txt', sep = '\t')
RMSD_xtal_data = pd.read_csv('data/Section6/rmsd-xtal.txt', sep = '\t')

RMSD_t = RMSD_data['t'].tolist()
RMSD = RMSD_data['RMSD'].tolist()
RMSD_xtal_t = RMSD_xtal_data['t'].tolist()
RMSD_xtal = RMSD_xtal_data['RMSD'].tolist()

fig = plt.figure()
ax = fig.add_subplot()
ax.plot(RMSD_t, RMSD, color = 'black', label = 'MD structure')
ax.plot(RMSD_xtal_t, RMSD_xtal, color = 'red', label = 'Crystal structure')
ax.set_xlabel('Time / ns')
ax.set_ylabel('RMSD / nm')
ax.legend()
Has the protein stabilised in the MD simulation?
Why aren’t the MD structure and the crystal structure always perfectly overlapping?
Click here to see the answers
Yes, you can see it levels off to roughly 0.1 nm.
This is because the MD structure has been energy-minimised and because the position restraints are not 100% accurate.